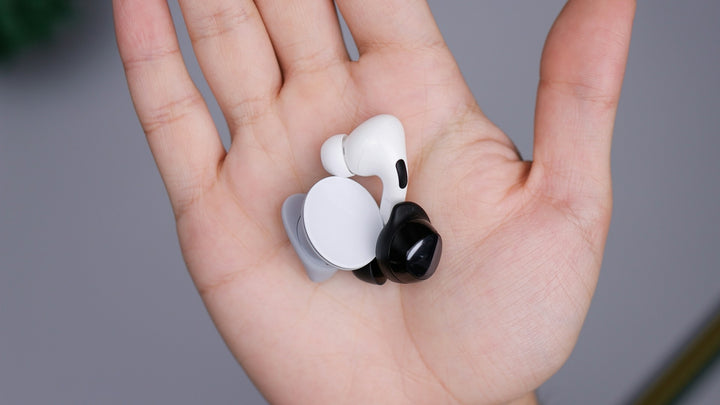
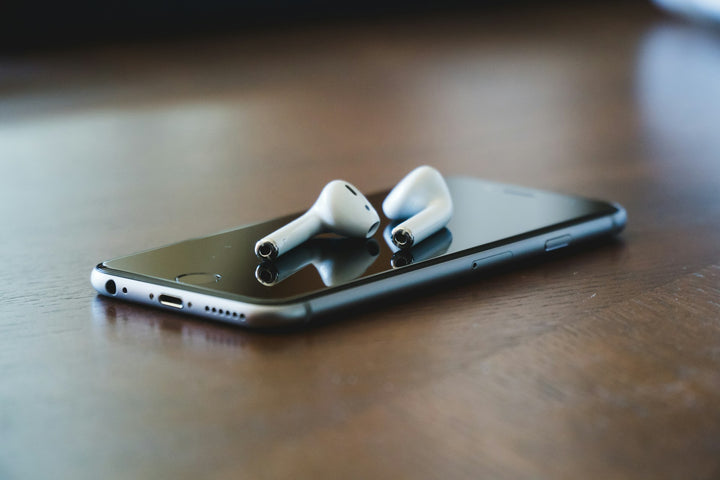
The AirPods Pro are known for their excellent sound quality. But what if the microphone is worse than expected? A common problem that many users complain about. In this post you will learn the most common reasons and quick solutions.
7 STEPS TO FIX POOR MICROPHONE QUALITY ON YOUR AIRPODS PRO
1. UPDATE SOFTWARE
Outdated software can cause problems with your AirPods Pro. To ensure that they work properly, you should update them regularly.
Typically, your AirPods Pro's software will automatically update when connected to your iPhone or iPad. If the following conditions are met, iPhone should automatically update the AirPods Pro software in the background:
- Connect your AirPods to iPhone and make sure they are paired with each other
- Both your AirPods and your iPhone or iPad should be charged or charging in the process.
- Make sure your iPhone or iPad is connected to the internet.
- The AirPods must be in the charging case during the process.
- The AirPods should be close to the iPhone.
2. DISCONNECT AND RECONNECT AIRPODS PRO
Users report that disconnecting and reconnecting the AirPods can solve microphone problems. How to reset the AirPods:
- Place the Airpods in the charging case and close the lid
- Wait 30 seconds
- Open the charging case lid and insert AirPods into your ears
- Go to Settings > Bluetooth or select Settings > Your AirPods.
- Once the AirPods are connected, tap the “i” button (more information). Then tap on “Ignore this device” and confirm your entry.
- If your AirPods don't show as connected in step 5, do this: Place AirPods in the charging case and leave the lid open. Press and hold the setup button on the back of the charging case for approx. 15 seconds until the LED light on the front of the charging case flashes yellow and then white.
- Now reconnect the AirPods. Place the AirPods in the case, leave the lid open, place them near the iPhone and follow the instructions on the screen of your iPhone.
3. TURN OFF AUTOMATIC SETTING

With the AirPods Pro and many other Bluetooth headphones, the microphone usually automatically switches between the left and right earbuds, depending on which one picks up the sound best. This can also lead to problems and errors. If you notice such errors or notice that one of the microphones works better, you can manually set which microphone should be active. That's how it's done:
- Go to Bluetooth settings.
- Click the “i” next to your AirPods
- Now you can set the microphone to the right or left AirPod
4. SPEAK DIRECTLY INTO THE AIRPOD
With Bluetooth headphones, the microphone is directly in the headphones and therefore further away from the mouth than with headphones where the microphone is attached to the cable. Of course, this can also affect the quality. Therefore, it can help if you speak directly into the AirPods. In step 3, you selected the left or right AirPod as the microphone. When speaking, take your chosen side of the AirPod out of your ear and speak directly into it.
5. AIRPODS PRO MICROPHONE CLOGGED - CLEAN
Properly cleaning your AirPods Pro can help resolve microphone problems and other sound problems caused by dirt and debris. Here you will find a short step-by-step guide on how to quickly clean your AirPods Pro.
6. AIRPODS PRO DEFECTIVE? REQUEST A REPLACEMENT DEVICE
Your microphone may be working poorly because the AirPods Pro are defective. If your device is still under warranty, you can contact Apple Support. Depending on the type of defect, they may be able to be repaired or replaced free of charge.
However, if you no longer have a warranty, it may be worth buying new AirPods or individual replacement parts. Repairs are often so expensive that buying new devices is simply more economical.
If you have noticed that only the microphone of a single Airpod is bad, you can also find individual replacement parts in our online shop.
The manufacturer usually does not offer the option of purchasing individual components of a bundle separately.
So, for example, if only the microphone on the right AirPod is bad or broken, you would normally be forced to buy an entire new bundle, which is costly and uneconomical.
Here, however, you can purchase AirPods individually and save money. We purchase original bundles and dismantle them into their individual parts. This ensures that you retain the full manufacturer warranty even if you only purchase a replacement part.
FREQUENTLY ASKED QUESTIONS
CAN YOU MAKE GOOD CALLS WITH THE AIRPODS PRO?
Yes, you can make good calls with the AirPods Pro. For many reasons:
- Active Noise Cancellation: One of the key features of the AirPods Pro is active noise cancellation. This feature can reduce background noise so you can hear more clearly in noisy environments.
- Transparency mode: If you want ambient noise to remain audible during a call (e.g. when you need to pay attention to traffic), you can turn on transparency mode. This allows you to have conversations without being completely isolated from your surroundings.
- High-quality microphones: AirPods Pro are equipped with multiple microphones that help transmit your voice clearly while minimizing background noise.
- Good battery life: The AirPods Pro offer up to 3.5 hours of talk time on a single charge and additional charging cycles with the included charging case.
- Comfort: For many users, the AirPods Pro are more comfortable than the standard headphones thanks to the adjustable earbuds, especially during longer conversations.
WHY IS MY AIRPOD PRO MICROPHONE MUFFLED?
If your AirPod Pro microphone sounds muffled, there could be several reasons:
- Dirt or debris
- Software not up to date
- Bad connection
- Low battery
- Attitude problems
- malfunction
The solutions for this are:
- Carefully wipe the microphone with a lint-free, dry cloth
- Update software
- Disconnect and reconnect AirPods
- Charge AirPods and iPhone
- Set either the left or right AirPod as a microphone
- If the device is still under warranty: Request a replacement from Apple. Otherwise, order new AirPods, as repairs are usually quite expensive. In this online shop you will find many AirPods models
HOW CAN I SET UP MY AIRPODS PRO?
To access AirPods Pro settings on an iPhone or iPad, do the following:
- Make sure your AirPods Pro are connected to your iPhone or iPad.
- Open the Settings app on your device.
- Tap "Bluetooth." In the list of paired devices you will see your AirPods Pro. To the right of her name is an "i" symbol in a circle. Tap this icon to access AirPods Pro-specific settings.
You can sometimes make the following settings here:
- change name
- Noise control
- Automatic ear detection
- microphone
- About AirPods Pro